
EFAST Protocol
(Extended Focused Assessment With Sonography for Trauma)
In its current state, the EFAST exam is a point-of-care ultrasound protocol designed to rapidly assess trauma patients with shock/hemodynamic instability. With experience, healthcare providers can utilize the EFAST protocol to identify critical pathology within the peritoneal, pericardial, and pleural spaces. The goal of this chapter is to provide an introduction to the standard views of the EFAST exam and the sonographic findings of critical traumatic pathology.
-
“The sequence of scanning the individual regions is not critical and may be left up to individual preference. The majority of the panelist, in their own practices, begin scanning with the perihepatic view, primarily for the technical ease in identifying the liver. Their sequence then proceeds to the perisplenic, pelvic, and finally the pericardial view.”
Scalea TM, et al: Focused Assessment with Sonography for Trauma (FAST): results from an international consensus conference: The Journal of Trauma: Injury, Infection, and Critical Care 1999; 46(3), 466-472
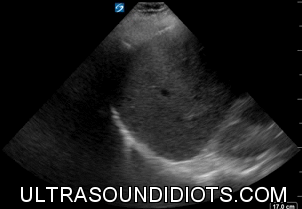
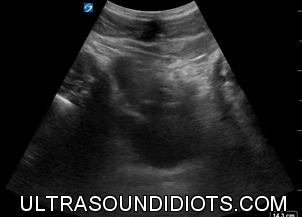
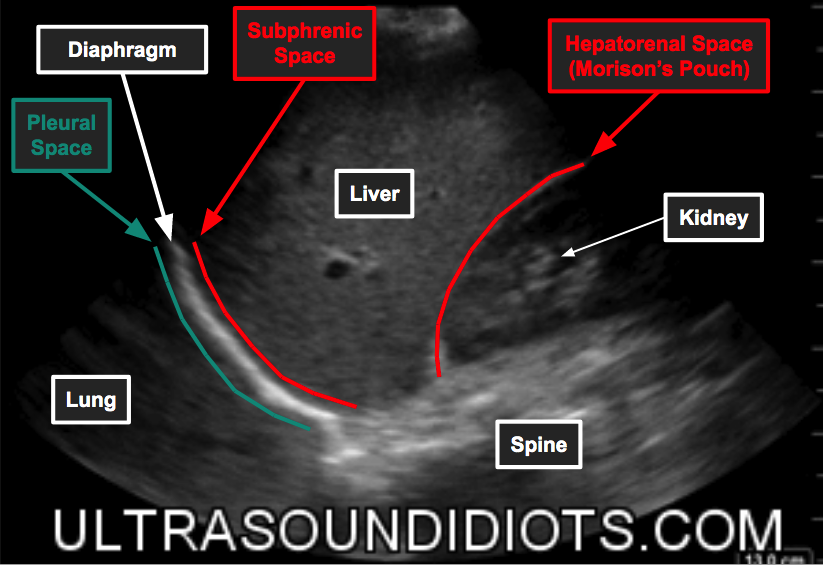
Right Upper Quadrant
The goal of the RUQ exam is to obtain views of the following potential spaces:
Pleural Space - superior to the diaphragm
Subphrenic Space - between diaphragm and liver
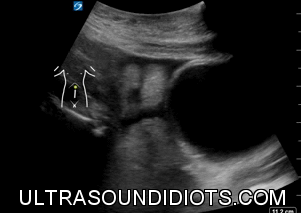
Hepatorenal space (Morison’s pouch) - between liver and right kidney
Paracolic Gutter - inferior to the right kidney
-
In 1970 Goldberg et al reported with A-Mode imaging that as little as 100cc of free fluid could be detected in the right upper quadrant of a cadaver positioned in the right lateral decubitus position.
Evaluation of Ascites by Ultrasound. Goldberg et al, Radiology. 96(1):15-22, 1970 JUL.
1998 - Hemorrhage, when present within the peritoneum, is most often found within the RUQ (1).
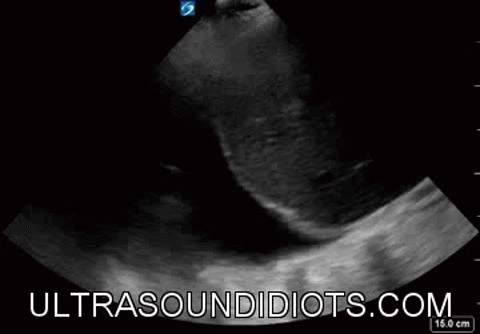
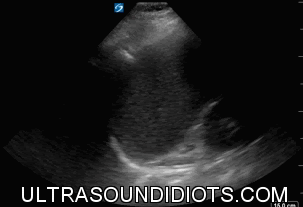
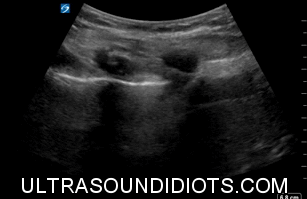
ruq


-
Start with the curvilinear or phased array probe.
Abdomen Preset
Orient probe marker towards head.
Place the probe at the mid-axillary line, lateral to the xiphoid process.
Tilt the probe posteriorly, toward the retroperitoneum.
You will likely be in close proximity to the hepatorenal space (Morrison’s pouch).
It may help to rotate the probe counterclockwise to avoid rib shadows.
Slide the probe superiorly to visualize the pleural space.
Slide the probe down over the next fews ribs to visualize the interface between the liver and diaphragm.
Slide the probe posteriorly and inferiorly and tilt anterior/posterior in order to visualize the hepatorenal space (Morison’s pouch).
Continue to slide inferiorly, observe for any free fluid while scanning through the entire kidney, past the inferior pole and into the right paracolic gutter.
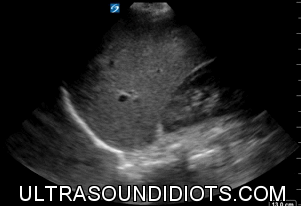
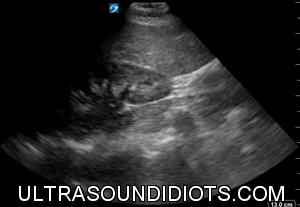
RUQ Exam Pathology
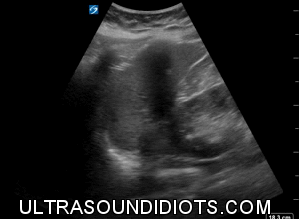
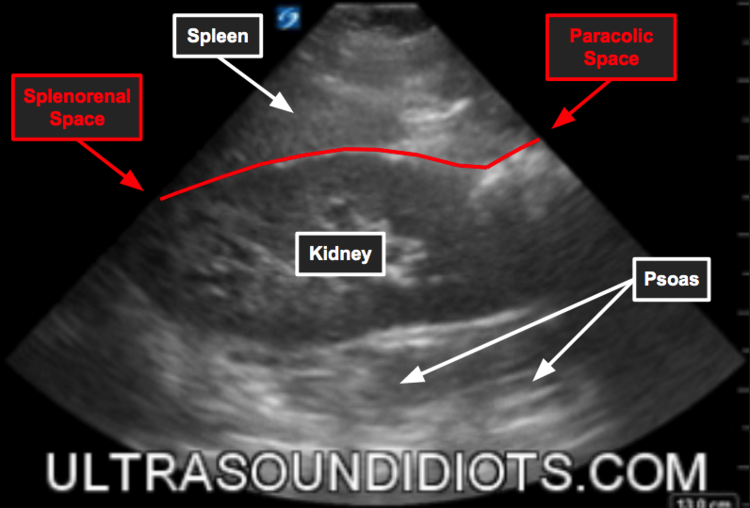
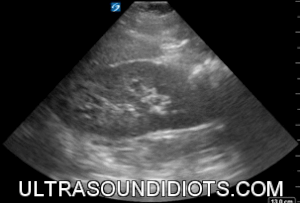
Left Upper Quadrant
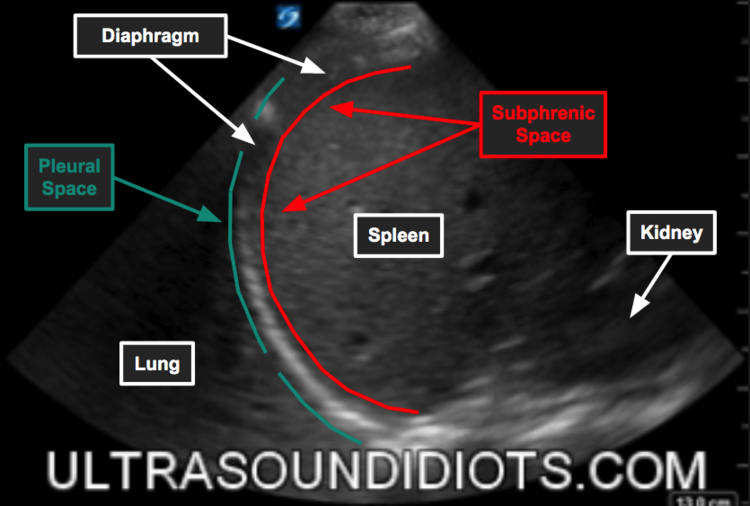
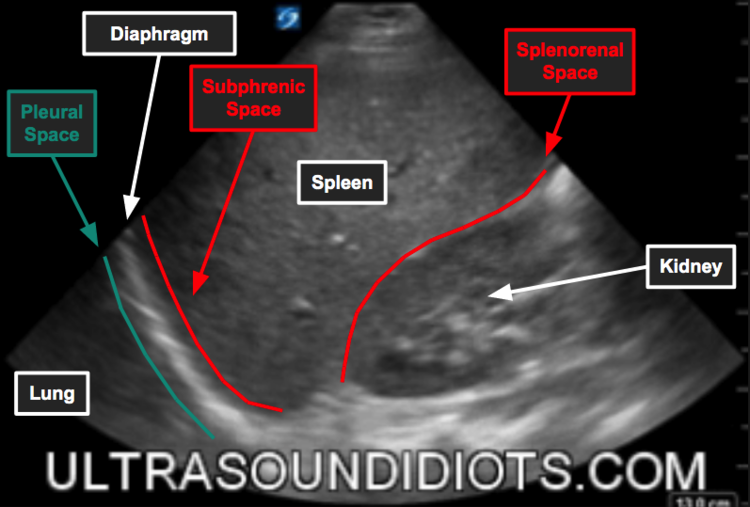
The goal of the LUQ exam is to obtain views of the following potential spaces:
Pleural Space - superior to the diaphragm
Subphrenic Space - between diaphragm and spleen
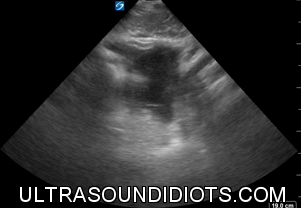
Splenorenal space - between spleen and left kidney
Paracolic Gutter - inferior to the left kidney
-
Description text goes here
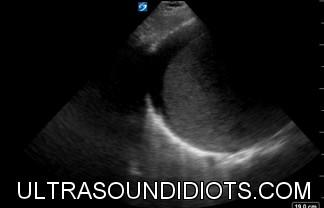
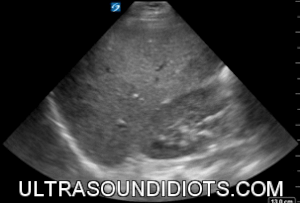
luq

-
Start with probe marker towards head. Place the probe lateral to the xiphoid process at the left posterior-axillary line (retroperitoneal) - dot to the head knuckles on the bed. The splenorenal space is visualized.
The spleen is smaller than the liver and tends to be more superior and posterior.
It may help to turn the probe oblique to get in between ribs.
Slide the probe superiorly to visualize the pleural space (lung). Check for mirror artifact (the echogenicity of the spleen = echogenicity of the pleural space). If this is absent and the pleural space is instead black, consider hemothorax. If you see black above the diaphragm and a piece of hyperechoic tissue waving, it is a hemothorax. The waving tissue is collapsed lung tissue.
Slide the probe down over the next rib to visualize the interface between the spleen and diaphragm.
Angle/slide the probe inferiorly and scan anterior to visualize the splenorenal space.
Scan inferior to the kidney to check for fluid accumulation at the inferior pole.
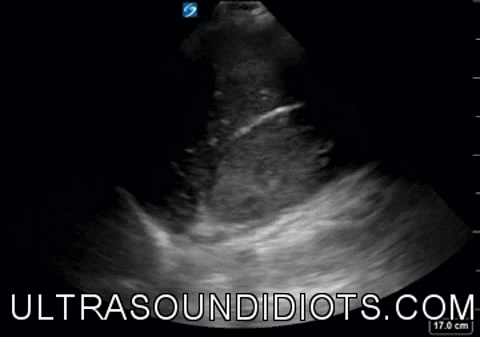
LUQ Pathology


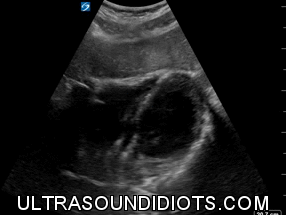
Pelvis
Goal: Obtain a view of the rectovesicle space (male) or rectouterine space (female) (aka Pouch of Douglas)
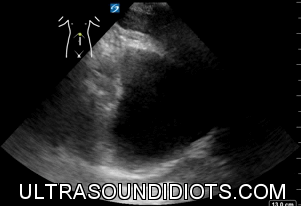
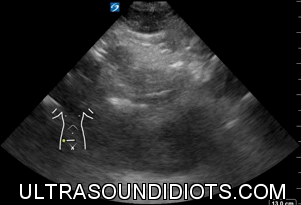
Pelvic imaging Technique
Start by holding the probe transverse just above the pubic symphysis, marker to patient’s right, and angle down into the pelvis.
Scan through the bladder by fanning the probe back and forth.
Turn the probe sagittal, marker towards head, and angle down into the pelvis.
Fan the probe to assess for free fluid in the potential space between the rectum and either the bladder or uterus.
SUprapubic exam pathology
SUBCOSTAL
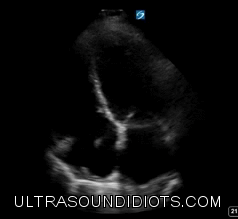
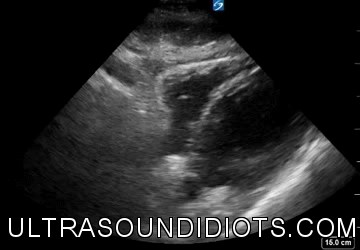
Goal: Obtain a view of the pericardial space using the liver as an acoustic window.

Goal: Obtain a view of the pericardial space using the liver as an acoustic window.
Technique
Start by holding the probe like a TV remote and place it in transverse plane, inferior to the xiphoid process, marker toward the patient’s right.
The probe should be angled up towards the heart and will be almost be parallel to the floor.
Make sure the depth is adequate and enough pressure is used.
It may also be helpful to have the patient breath in and hold it.
Asses forf fluid in around the heart and overall pump function.
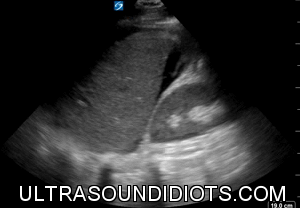
Subcostal Pathology
Pulmonary
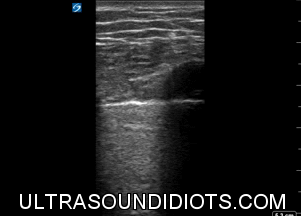
Goal: Obtain views of lung slide to assess for pneumothorax.


Technique
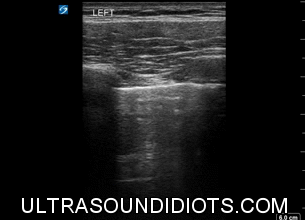
Start with probe perpendicular to ribs, marker towards head.
Slide the probe superior or inferior until a good pleural line between rib spaces is visualized.
On the left side, try to find a space that is superior to the heart.
have the patient breath in and out to help visualize the slide.
The slide can be describes as “ants walking on a stick”.
M-mode can also be used to see “waves on a sandy beach”.
Dead ants in B-Mode or a “barcode” on M-mode suggests pneumothorax.
Pulmonary Pathology


Documentation
EFAST EXAM
EFAST EXAM (NEGATIVE STUDY)
FAST EXAM
FAST EXAM (NEGATIVE STUDY)
LIMITED ABDOMEN/EVALUATE FOR FREE FLUID
LIMITED ABDOMEN/EVALUATE FOR FREE FLUID (NEGATIVE STUDY)
Additional Educational Resources
ACEP: EFAST- Extended Focused Assessment With Sonography for Trauma.
D’Agostino, J. (2009, July 20). Fast Exam
Reardon, R. Ultrasound in Trauma- The FAST Exam
http://www.aium.org/resources/guidelines/fast.pdf
HISTORICAL PERSPECTIVE
The History of the FAST exam is fascinating. To view it in its entirety, illustrates beautifully the gradual development of a modern medical technology. I have started a slow process of mapping this out in The History of Ultrasound.
REFERENCES
For ultrasound fellows, complete access to all articles found at Articles Trauma / EFAST
PAGE AUTHORS
Matt Jones, MD
TAMARA ARMSTRONG, MD

